Time to start this challenge off with a bang! (If you missed my post last week you can check it out here!) We’re jumping right in with curating our living room design style this weekend. Follow the steps below and you can have a new living room by Monday. No, seriously!
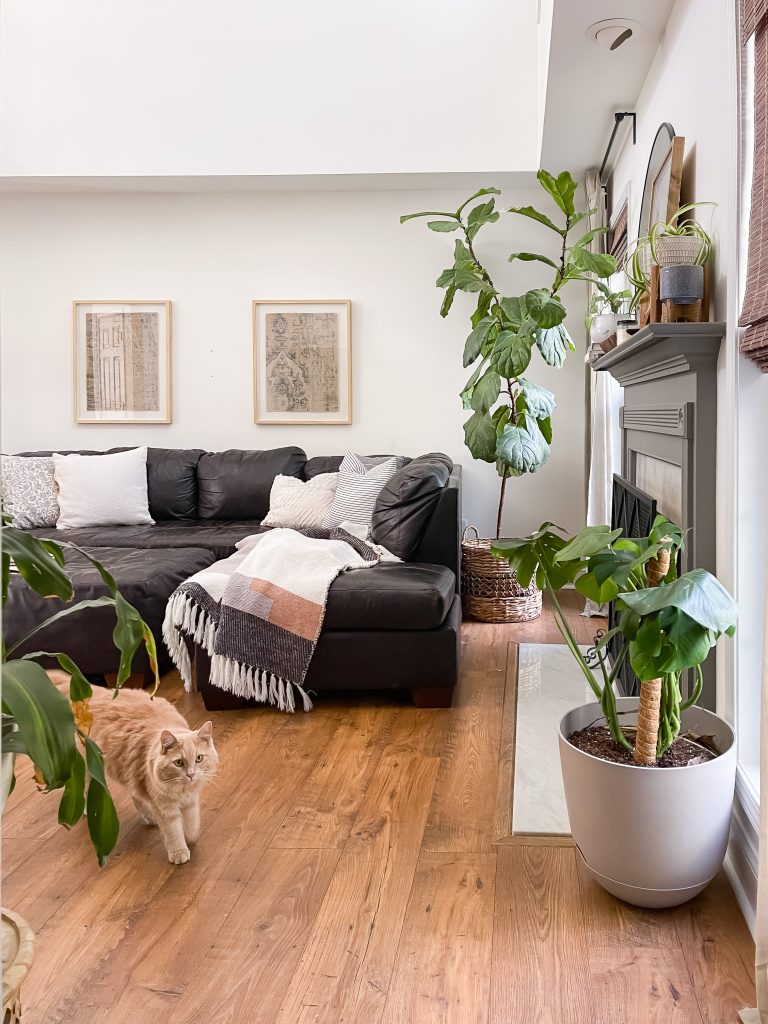
Your living room design style will impact so many other areas of your home. Because of this, I thought it would be the best place to start. This is the room that is meant for you to gather, spend time with your loved ones, and relax. It’s usually one of the first rooms you see when walking into your home, so this space is of utmost importance! Your whole home vibe will flow from here.
For some, the living room will be the workhorse of their home and for others, it will rarely get used. I’ve actually been on both sides of that coin within the last 3 years of living in our current house!
Perhaps you have a finished basement or bonus room where you and your family spend the majority of your time (like Julia Marcum and fam)? Or maybe you do everything right down to eating your meals in your living area. If it works for you, carry on.
Wherever you fall in this spectrum, may the following tips work best for you and yours. As always, take what you can work with and leave the rest!
Step 1: Assess Your Living Room Design Needs
So, you already have an idea of what overall design style(s) fit you best, now is the time to take that vision and make it a reality. First item on the agenda: cull your current space. It’s time to really assess what you’re working with. Below are a few questions to ask yourself before you get start removing everything from your living room. (That’s step 3 ;))
What do you already love about the space?
Does it have lots of windows and natural light? Built In’s that add character and dimension? A gorgeous fireplace? Is your favorite rug in here?
What would you consider your biggest challenge in your living room?
Does it have lots of windows with TOO much sun streaming in or privacy issues? Are there toys all over the place? Nowhere to put the TV? No current focal point in the room?
Do you want it to feel more formal or casual?
Keep in mind how the room will be used by your family. You may have a vision of a white suede couch and shag rug but if you have children or pets, I would advise steering clear of both of those!
Will this area have a cool, minimal vibe or do you want it to feel lived in and cozy?
This will fall into your own personal preference but your design style will also play a part here! Bohemian chic or grand-millennial will likely have a more maximalist but cozy vibe, while modern or transitional interior design styles are typically more minimal.
These are just a few questions to ask yourself before you really dive into editing your living space. Even if you’re still a little fuzzy on what the end goal will be, asking these questions and going through the process step by step will really help you bring your vision into focus.
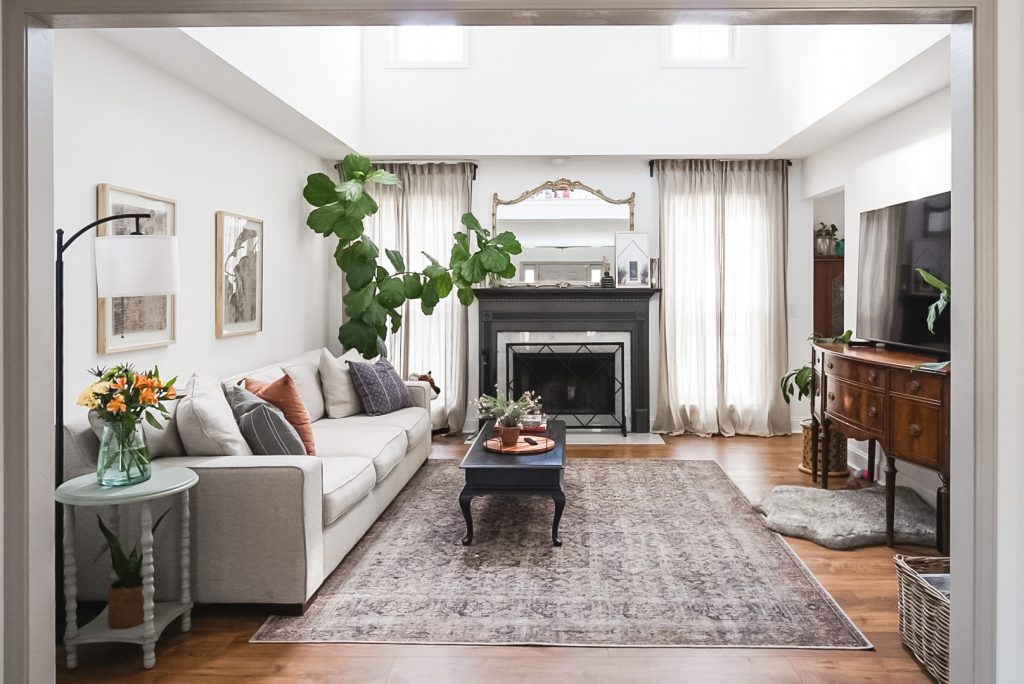
Step 2: Take Note
Alright, now we have a clear idea of what we love and what we don’t about our current living room design and features. It’s time to really take stock of what you’re working with in your space! Keep your vision in mind here as we go through the next few steps.
For this part, we’re going to focus on the things that can’t be easily changed to fit into your vision. We’re talking couches, light fixtures, finishes, etc. These larger ticket($) or more permanent parts of your room are the things we’ll be working around for now. Make a note of these things and maybe do a little brainstorming. There is likely a way you could continue to make them work for you during this style transition.
Some things you may want to jot down on your “tackle one day” list:
- Re-finishing the fireplace surround because the glam, sparkly tile the previous owner chose is not your thing.
- Do you have 70’s era, orange toned, wood paneling that just doesn’t fit with your English country style? Have some paint colors in mind for down the road.
- Hate your TV console that you’ve had since college? Do a bit of window shopping or search for inspiration on your Pinterest boards. Then create a quick budget and timeline to replace it down the road.
- Wanting to change out the plantation shutters on your back wall that has 6 oversized windows, all of which will need custom coverings? That may not be the most practical pursuit at the moment. Remove them if possible but we are otherwise not tackling this beast at present.
Even some of the more daunting aspects of your space can most likely be used to work with your vision for now. Especially if you can get creative with your solutions in the meantime. Don’t lose hope when looking at the big things that are not quite right at the moment. Make a note of those pain points and move along!
* We aren’t taking action on your bigger pain points just yet because that would take much more time (and money) than we’ve allotted ourselves this weekend. However, knowing what direction you could go in with this larger piece of the puzzle will help keep you from getting discouraged as you go through the rest of the curating process.
Step 3: The Purge
Ahhh, this is the most crucial step!! DO NOT SKIP THIS. It’s time y’all. Grab your plastic tubs or your cardboard boxes from your recent online order and get to work!
Anything that you are physically able to move needs to go. Yes, I’m so very serious! We are creating a clean slate to move forward with. Many people try to skip past this part because it sounds a lot like work. Trust me, removing it all is so so crucial for you to get the best end results! You simply cannot get a clear picture of what you’re truly working with if it’s covered in clutter or throw pillows.
Keep | Donate | Sell
Start at one side of the room and do a full sweep! As you are moving through your space, have a designated box for each of the following categories: keep, sell, or donate.
Do not keep a single item that you don’t use often, need, or find to be beautiful.
I won’t go into too much detail about the power of decluttering right now – just trust me on this one and be BRUTAL in your culling. I’ll have a blog post with the specific benefits of decluttering for you soon!
Tuck the items that you’ve chosen to keep into the garage, basement or other storage area for the time being. You wont be touching any of these items for at least a week so put them out of site if possible.
Tip: Anything you plan to donate – put in a box and then directly into your car. Anything you plan to sell, take a photo of it before you put it wherever you’re stashing those items. Saves you the step later and you can add the item to FB marketplace just whenever you get a spare minute.
Step 4: The Clean Slate aka Daydreaming
Whew! That last one was a doozy huh? But I bet your space feels so fresh right now. Ah, sweet possibilities abound!
Okay, you’ve now assessed your space, made a note of the things you can’t change RIGHT NOW, and decluttered every square inch. Only the furniture remains. Right? If not, get back in there and return to step 3. Slackers don’t get to move forward to the fun stuff.
Are we good? Room is completely empty? Okay, now for the fun part!
Daydreaming
I want you to spend the rest of the weekend perusing your Pinterest boards and enjoying the empty space for a bit. Do you feel calmer without all that stuff around you? Pay attention to how you feel in the decluttered room. If you feel cold, go grab one of those throw blankets you put away in step 3 and put it back on the couch, this isn’t about suffering. But, I bet you feel a little lighter. A little less stressed. Like you have your life together just a little more.
While you reveled in the new openness of the bookshelves and coffee table, wait for inspiration to strike before you begin adding things back in to the space. Have a little faith in the process. Keep referring back to your boards and keep the inspiration fresh. Add things back in slowly over the course of this week. Or don’t! Maybe you want a little more time with the blank slate to really hone in on your vision.
Enjoy Your Newly Refreshed Living Room
Yay! YOU DID IT!! While it may not be a completely perfect space just yet, you should definitely be heading in the right direction now. Your living room design and styling have come a very long way in such a short span of time. I truly hope this helps to ramp up the momentum on your home styling journey. For now, enjoy your refreshed living room and slowly continue adding only your very favorite and most used items back in through the course of next week.
I can’t wait to see you back next Friday as we tackle… BATHROOMS! Woo!
Olivia