As winter’s chill lingers and the world outside feels a little dormant, there’s no better time to start dreaming about the vibrant garden you’ll have this spring. For many, January is the perfect month to start sowing the seeds that will eventually blossom into beautiful flowers and fruitful veggies. If you’re a stay-at-home mom or homemaker who has decided that 2025 is the year to try your hand at gardening, starting seeds indoors is an excellent way to dip your toes into the world of horticulture.
A Beginner’s Guide to Getting Your Garden Ready for the New Growing Season
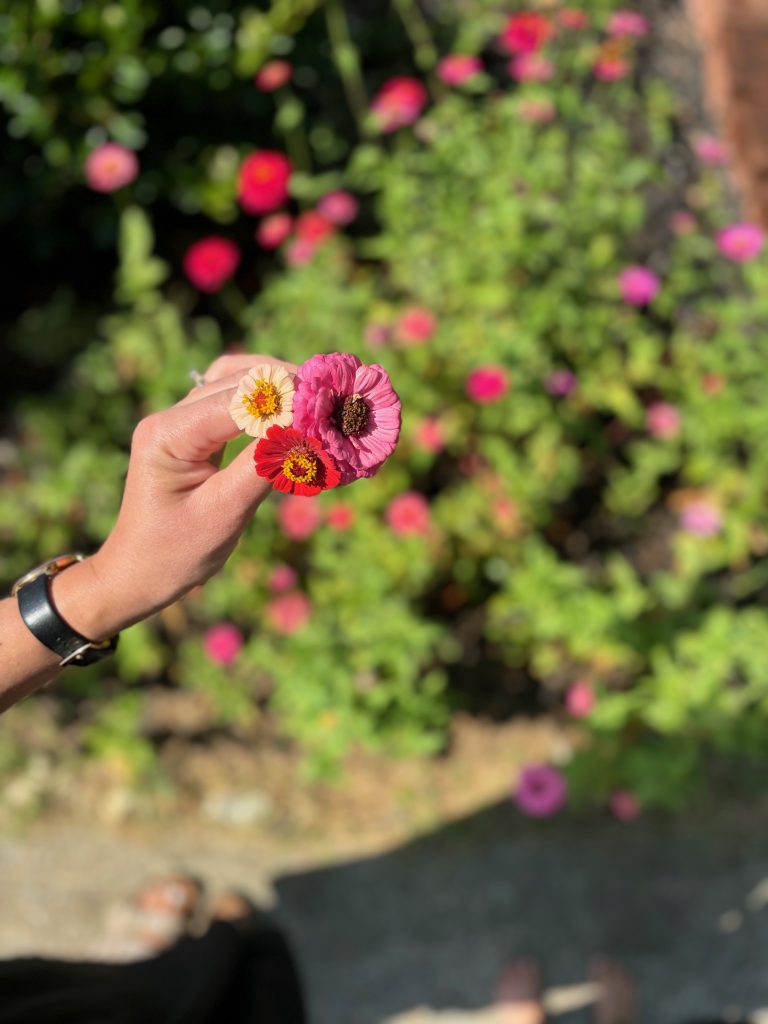
Growing cut flowers from seeds can be both rewarding and fulfilling. It’s an affordable way to grow the blooms you love while connecting with nature, and with a little patience and care, you’ll soon have bouquets of gorgeous flowers to share with friends, family, and yourself! Plus, growing your own vegetables and herbs can be incredibly satisfying and provide a sense of accomplishment, especially when you harvest your first crop of fresh produce.
See also: Benefits of Cultivating Your Own Cut Flower Garden
In this beginner’s guide, we’ll walk you through the basics of starting seeds for spring, including when to start them based on your growing zone, the supplies you’ll need, and tips to make the process as enjoyable and successful as possible. For the sake of this particular article, I will be referencing a cut flower garden more so than vegetables because that is simply what I have more experience with, however, the basis is really interchangeable for any indoor seed starting you may be planning this year. Whether you’re interested in cut flower gardening, sowing your own vegetable garden, or both, let’s dive in and get you set up for a beautiful growing season ahead!
Why Start Seeds Indoors?
Starting seeds indoors is a great way to get a jump start on your very own cut flower garden. By giving your plants a head start, you’ll be able to enjoy beautiful blooms and harvests earlier in the season. Seeds take time to germinate and grow into strong, healthy seedlings, so starting indoors gives them the warmth, light, and care they need before they go out into the unpredictable elements of mother nature.
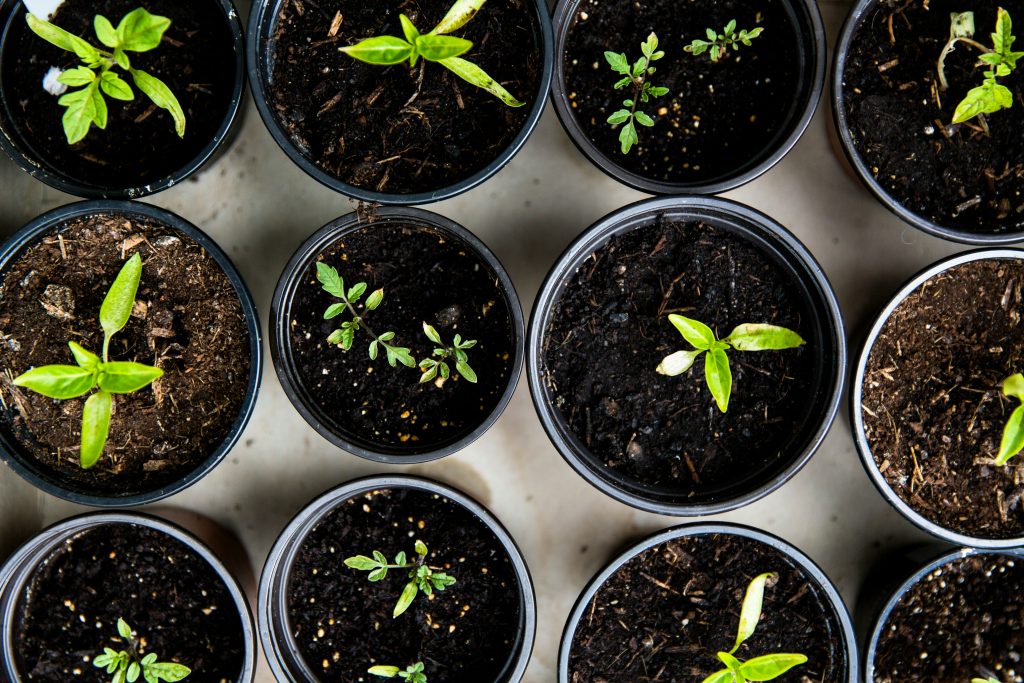
Additionally, starting seeds indoors offers a fun and rewarding way to learn about the growing process. If you have little ones at home, I highly encourage you to bring them along for this wonderful learning experience! My daughter has been helping me plant seed trays and care for our cutting garden since she was about 2 years old. It’s become one of our favorite late winter activities and now (at 4) she has already asked me when we would be planting! I’m pleasantly surprised by the vivid memory in my sweet girl.
Beginning your indoor seed garden is also budget-friendly—you can grow a variety of flowers and vegetables for a fraction of the price of purchasing starter plants at the garden center. Plus, there’s something truly magical about planting tiny seeds and watching them transform into thriving plants!
When Should You Start Seeds?
The timing for starting seeds indoors depends on several factors, including your location (growing zone) and the specific plants you’re growing. To help guide you, I’ll break down the timing based on both flowers and vegetables, as well as provide a rough timeline for different USDA plant hardiness zones.
1. Know Your Planting Zone
The first step in determining when to start seeds is understanding your USDA Hardiness Zone. Your zone is based on your average last frost date in the spring and your average first frost date in the fall. Each zone has a specific set of dates and temperatures that determine the growing season.
For example:
- Zone 3 has cooler temperatures and a shorter growing season with frost dates typically between early May and early October.
- Zone 9 has a longer growing season, and plants can often be started much earlier.
You can find your hardiness zone by checking a USDA hardiness zone map or using online resources like this interactive tool from the USDA.
2. Starting Seeds for Cut Flowers
Here’s a rough timeline for starting some of the most popular cut flowers based on your hardiness zone:
- Cool-Season Flowers (e.g., Sweet Peas, Snapdragons, Poppies)
- When to Start: 6-8 weeks before your last expected frost date.
- Zones 7-9: Start in late February to early March.
- Zones 5-6: Start in March.
- Zones 3-4: Start in March or early April.
- Warm-Season Flowers (e.g., Zinnias, Sunflowers, Cosmos, Marigolds)
- When to Start: 4-6 weeks before your last expected frost date.
- Zones 7-9: Start in early March.
- Zones 5-6: Start in early to mid-April.
- Zones 3-4: Start in late March to early April.
Note: These are general guidelines, and specific varieties of flowers may have different timing needs. Always check the seed packet for the most accurate information.
3. Starting Seeds for Vegetables
Starting vegetables from seed indoors follows a similar timeline, but the types of vegetables you’re growing will also influence when to start them. Here’s a quick breakdown of common vegetables:
- Cool-Season Vegetables (e.g., Lettuce, Kale, Cabbage, Broccoli)
- When to Start: 6-8 weeks before your last expected frost.
- Zones 7-9: Start in February to early March.
- Zones 5-6: Start in March.
- Zones 3-4: Start in March or early April.
- Warm-Season Vegetables (e.g., Tomatoes, Peppers, Eggplant, Cucumbers)
- When to Start: 6-8 weeks before your last expected frost date.
- Zones 7-9: Start in March.
- Zones 5-6: Start in late March to early April.
- Zones 3-4: Start in late March to early April.
As with flowers, always check the seed packets for detailed instructions.
What Supplies Will You Need?
Now that you know when to start your seeds, it’s time to gather your supplies. Here’s a list of basic materials that every beginner gardener will need to start seeds indoors:
1. Seeds
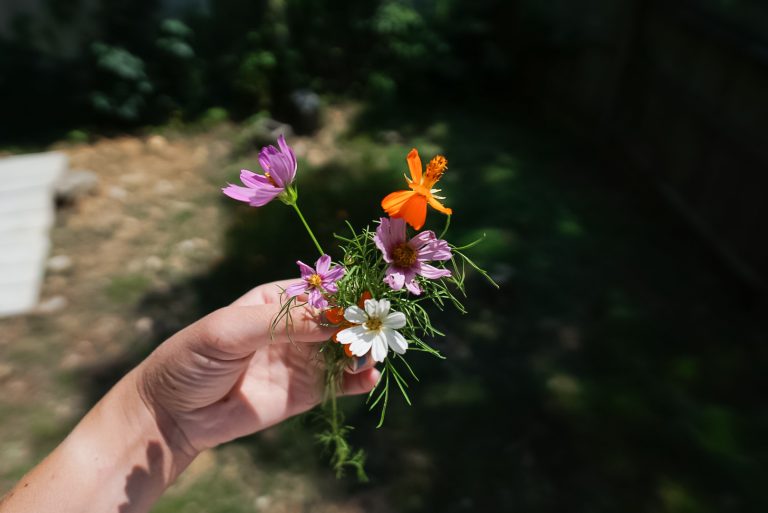
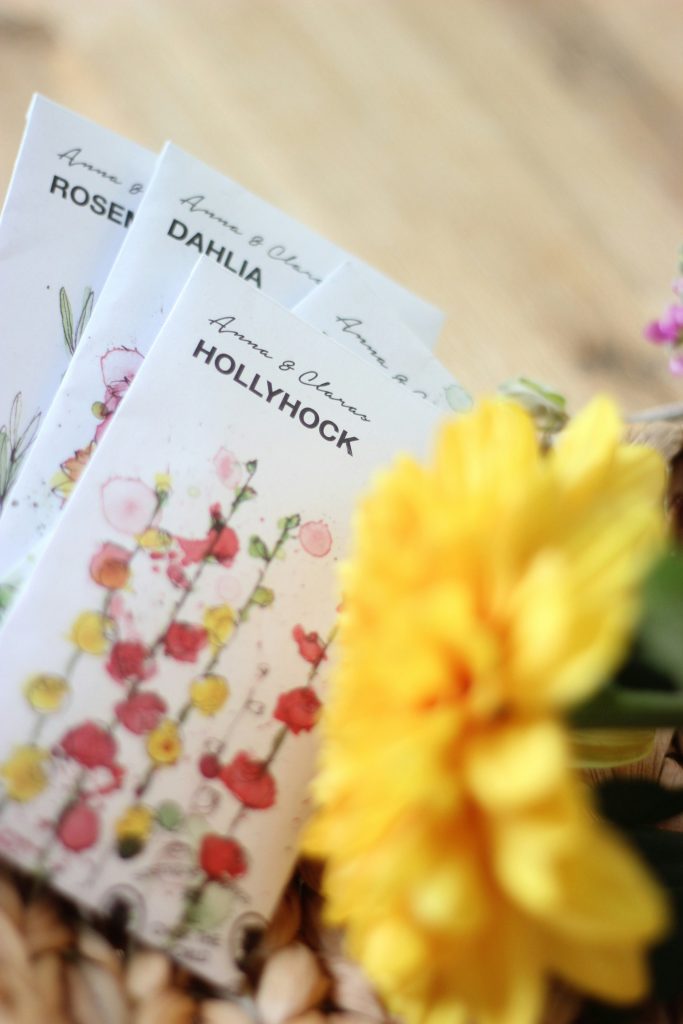
The most obvious supply, but make sure you choose the right seeds for your region and your desired flowers or vegetables. For cut flower seeds, focus on easy-to-grow varieties or those known to thrive in your region. Some of the easiest cut flowers I have grown include zinnias, sunflowers, cosmos, and marigolds. The Zinnias and Sunflowers seem to have particularly high germination rates across the board. (Seed germination refers to the amount of seedlings that sprout compared to the amount planted.) For vegetables, tomatoes, peppers, and lettuce are great starting points.
2. Seed Starting Trays or Containers
You’ll obviously need something to plant your seeds in if you’ll be embarking on this journey. You can buy seed starting trays, which often come with individual compartments for each seed, or repurpose small containers you already have at home, like yogurt cups, egg cartons, or plastic containers with drainage holes. No need to overthink this one, just about any old container will do fine in the beginning. Just ensure the containers have good drainage to avoid over watering your seeds.
3. Seed Starting Mix
Use a light, sterile seed starting mix for your seeds. Avoid regular garden soil, as it can be too heavy and may harbor pests or diseases. Seed starting mix is lightweight and promotes good root development. You can find it at most garden centers or make your own with peat moss, vermiculite, and perlite.
4. Grow Lights (optional)
While a sunny windowsill can work, you might want to invest in grow lights to give your seedlings the best chance for success. Most seeds need 12-16 hours of light each day to grow strong. LED grow lights are an energy-efficient option that can be placed above your seedlings to mimic natural sunlight. Be sure to position the lights close to the seedlings (around 2-4 inches above) to encourage strong, healthy growth. be careful with this though as some of the tallest plants will grow very quickly so you’ll need to adjust the height of your lights regularly to accommodate the long stems.
5. Heat Mats (optional)
This is definitely an optional addition to your seed starting campaign. Many seeds, especially warm-season flowers and vegetables, thrive in warmer temperatures. A seedling heat mat can help maintain the ideal temperature (usually between 65°F and 75°F) to encourage germination. These are particularly helpful for seeds that require warmth to sprout, like tomatoes and peppers.
6. Labels
Keep track of what you’ve planted by labeling your containers. You can use popsicle sticks, plastic plant markers, or even masking tape on a popsicle stick to write down the name of the plant and the date it was sown. Again, your plant tags don’t need to be anything fancy, as long as they are functional! This helps keep everything organized and makes it easier to care for your seedlings. It will also help you to stay organized when it comes time to transfer to your flower beds outside as some will need more light or space than others and the seedlings will likely all look very similar in the beginning. Don’t assume you will remember which plants are where – unless you have an insanely good photographic memory, you will need some sort of labeling system!
7. Watering Can or Spray Bottle
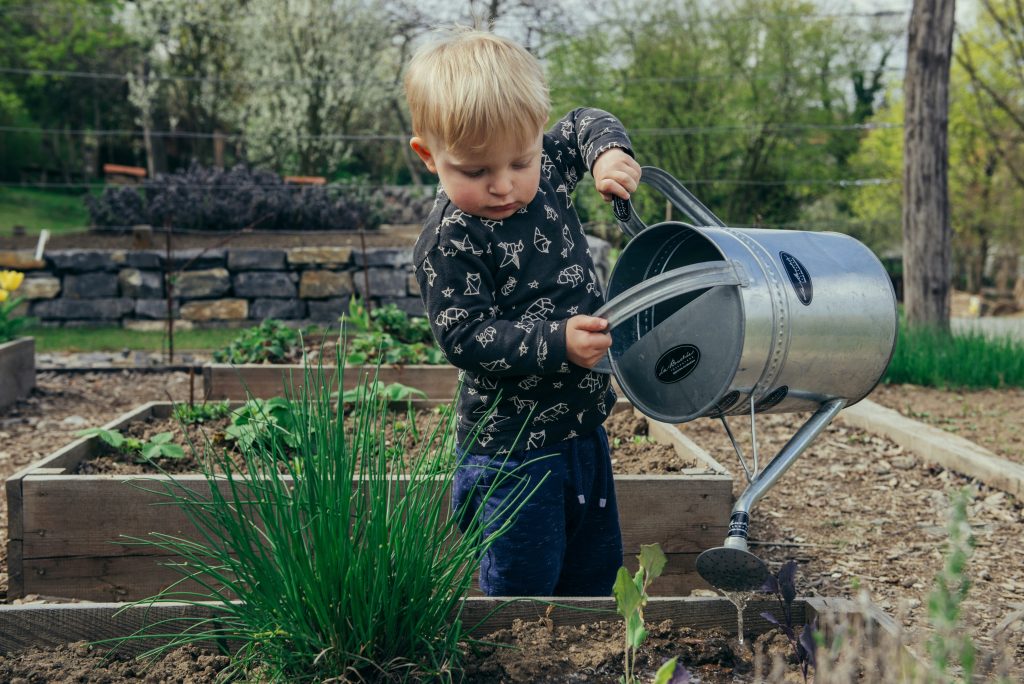
Seedlings are delicate, and overwatering can lead to mold or root rot. A gentle watering can or spray bottle is ideal for moistening the seed starting mix without disturbing the delicate young plants. If you’re letting your children help with this step int he process I definitely suggest handing them a small spray bottle – otherwise things are likely to end rather disastrously.
Tips for Success: How to Care for Your Seedlings
As your seeds start to grow, it’s important to give them the care they need to thrive. Here are a few tips to help you along the way:
1. Watering
Keep the seed starting mix consistently moist, but not soaked. Water your seeds gently with a spray bottle or a watering can with a fine spout. Water when the top of the soil feels dry to the touch, but be careful not to let the soil dry out completely. A word of caution here: It is very easy to disturb the tiny seedlings if the stream of water is too powerful and the small cell trays will fill up quickly!
2. Light
If you’re using grow lights, keep them on for 12-16 hours each day. If you’re growing your seeds on a windowsill, make sure they get plenty of sunlight—south-facing windows are ideal. Sometimes your seedlings may be getting too leggy (tall and spindly), and if this occurs they might not be getting enough light. In this case, simply move them closer to a light source or place in more direct light. The plants are “reaching” for the sunlight and need to be redirected or they will fail.
3. Thinning
Once your seedlings have a few leaves, thin them out by removing the weaker or overcrowded plants. This will give the remaining seedlings more room to grow and allow them to develop healthy roots. I know it’s hard to fathom removing some of your seemingly healthy plants after you worked so hard to grow them but for best results, you’ll need to ensure the most favorable growing conditions for your new seedlings.
4. Hardening Off
Before transplanting your seedlings outside, you’ll need to “harden them off” to help them adjust to outdoor conditions. For about a week before planting them in the garden, place the seedlings outside for a few hours each day, gradually increasing their exposure to sunlight and outdoor temperatures. I’ve found that the best way to transition them is with indirect sunlight the first day and then gradually move the seedlings closer to their final position near the flower beds each day.
Starting seeds indoors is a fun and rewarding way to grow your own cut flowers this year. Whether you’re focused on cut flowers or vegetables (or both) these tips will certainly get you started on the right foot and before you know it, you’ll have a bountiful garden to tend to by early summer. This is also a budget friendly way to experiment with different types of flowers to see how they do in your yard. I like to try one or two different varieties each year to expand my knowledge and add a fun new element to my own flower garden. While most cut flower gardens consist of annual flowers (the type to only last one growing season), you could also try your hand at growing some perennial plants from seed. These can be even more rewarding because they will grow back each year, fuller and more lively than before and you needn’t do anything other than adding a bit of fertilizer.
Regardless of the type of garden you are hoping to establish this year, getting your seeds started indoors is a reqarding and budget friednly way to get a jump start on the spring season. If you have any questions, please let me know in the comments.
Happy planting!